Getting Started
r4bbit is the simplest and most efficient way of using RabbitMQ, In just a few lines of code, you can make your RabbitMQ servers listen for messages and your RabbitMQ client to send messages.
Installation
Installing r4bbit is quite straightforward.
npm install r4bbit
Setting Up The Server
To receive a message, first, we must have a server listening to it. In r4bbit, creating a server is super easy.
import { getServer } from "r4bbit";

//..
const localRabbitUrl = "amqp://guest:guest@localhost:5672/";
const server = await getServer(localRabbitUrl);
Read how to set up a RabbitMQ instance
Now, we created a server. You can think of the server as your router instance. We just created an instance of it. Currently, it is not listening to anything. Let's change that.
Make The Server Actually Listen
We have to register routes to a server in order to listen
await server.registerRoute(
  {
    queueName: "my-queue",
    exchangeName: "my-exchange",
    routingKey: "my.*",
  },
  handlerFunc
);
But wait, where is the handlerFunc defined?? No worries, we haven't defined it yet; let's focus on the registerRoute method first.
We pass the names of a queue, exchange, and topic to our server.
This server will handle all the messages sent with the topic key my.{simply-anything}.
It can be my.dinosaurs or my.i.don.t.care.
Creating a Handler Function
When the message reaches the server, we want to take some actions. The handler function was created precisely for this purpose.
import { getServer, ServerTypes } from "r4bbit";

const handlerFunc: ServerTypes.AckHandler =
  ({ ack }) =>
  (msg: string | object) => {
    ack();
    console.log("Received message is ->", msg);
  };
By default, r4bbit uses acknowledgment instead of auto acknowledgment so that the received message can wait in the queue if something goes wrong in your function.
Other than acknowledgment, we are just console logging the message we receive in our function.
But what is a server used for if it never receives a message? Let's also add the client and see the whole picture.
Adding Client
When adding a client instance, we add them the same way as the server.
import { getServer, getClient, ServerTypes } from "r4bbit";

//..
const localRabbitUrl = "amqp://guest:guest@localhost:5672/";
const client = await client(localRabbitUrl);
Publishing a Message With The Client
Alright, we came to the last point: let's use our client to publish a message to our created server.
await client.publishMessage(
  { content: "hello world!!!" },
  {
    exchangeName: "my-exchange",
    routingKey: "my.routing-key",
  }
);
Easy as that! We pass the message content, exchange name, and the routing key to the client, which does it all.
The Whole Example
Let's run the whole code and see what happens!
import { getServer, getClient, ServerTypes } from "r4bbit";

const main = async () => {
  const server = await getServer("amqp://guest:guest@localhost:5672/");
  const client = await getClient("amqp://guest:guest@localhost:5672/");

  const handlerFunc: ServerTypes.AckHandler =
    ({ ack }) =>
    (msg: string | object) => {
      ack();
      console.log("Received message is ->", msg);
    };

  // create a server with one route
  await server.registerRoute(
    {
      queueName: "my-queue",
      exchangeName: "my-exchange",
      routingKey: "my.*",
    },
    handlerFunc
  );

  await client.publishMessage(
    { content: "hello world!!!" },
    {
      exchangeName: "my-exchange",
      routingKey: "my.routing-key",
    }
  );
};

main();
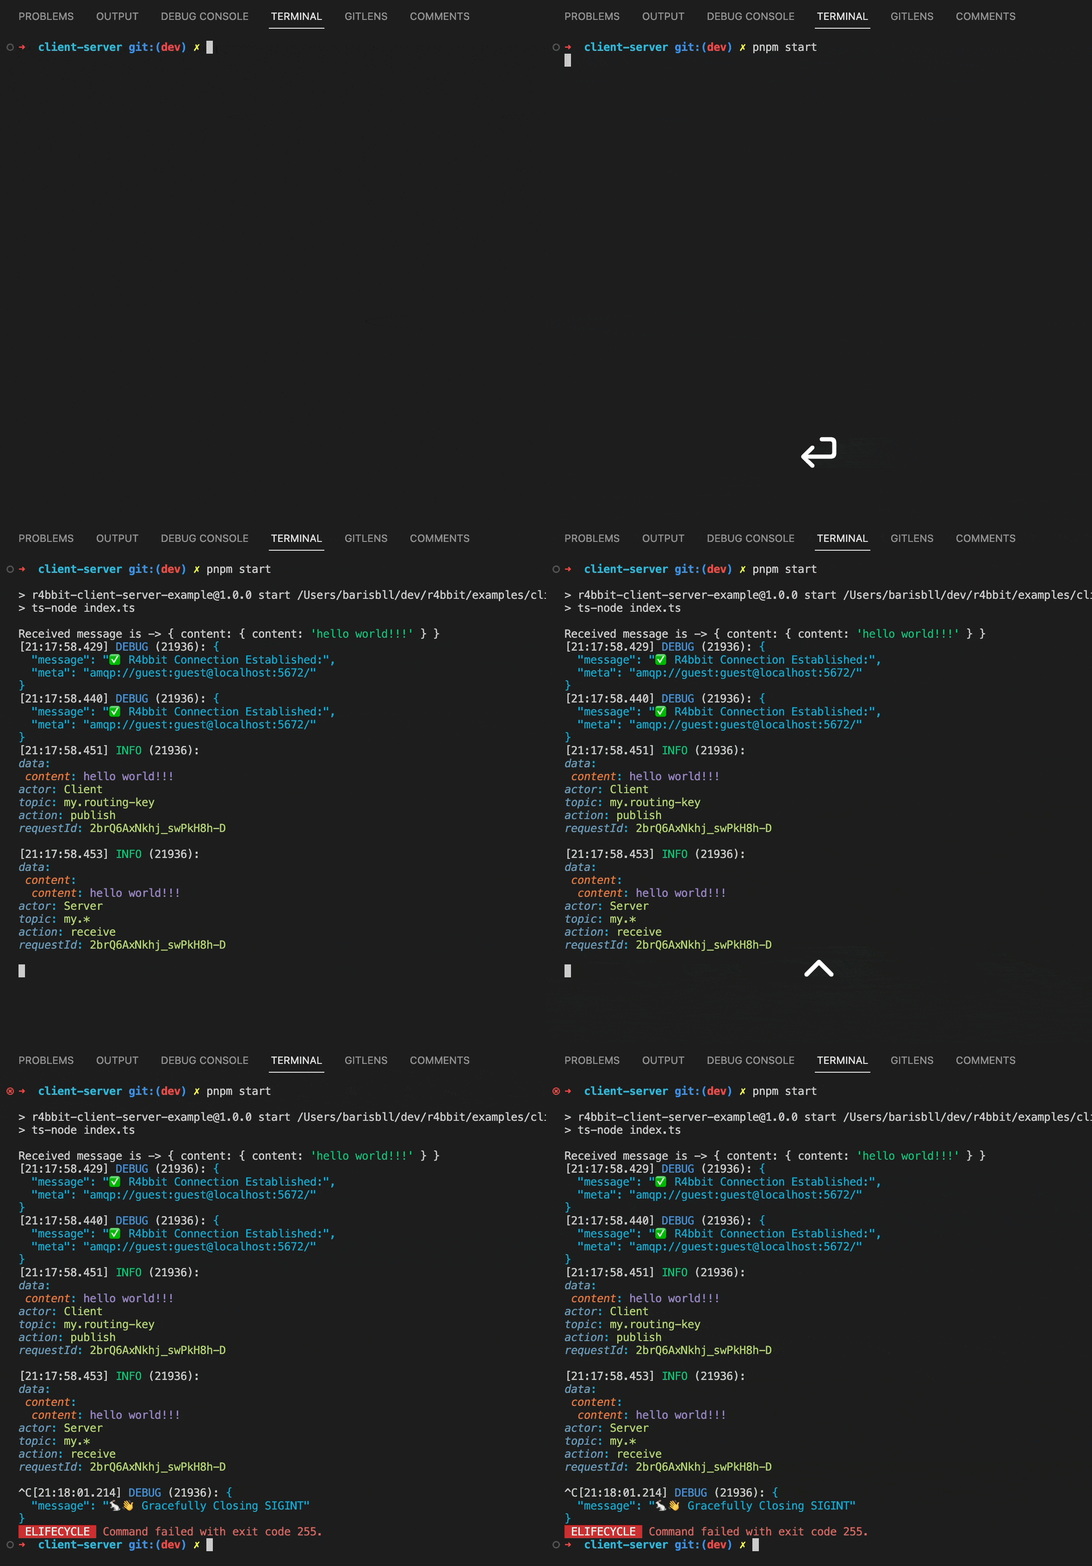
When we execute the code, we see these prompts in the console.

As r4bbit comes with default logging features, that's all you need for RabbitMQ communication!
Don't stop now, check out the guides and see all the other communication patterns and options r4bbit offers!